Their story, in their words…
What we did:
- Cut the acrylic tube to size.
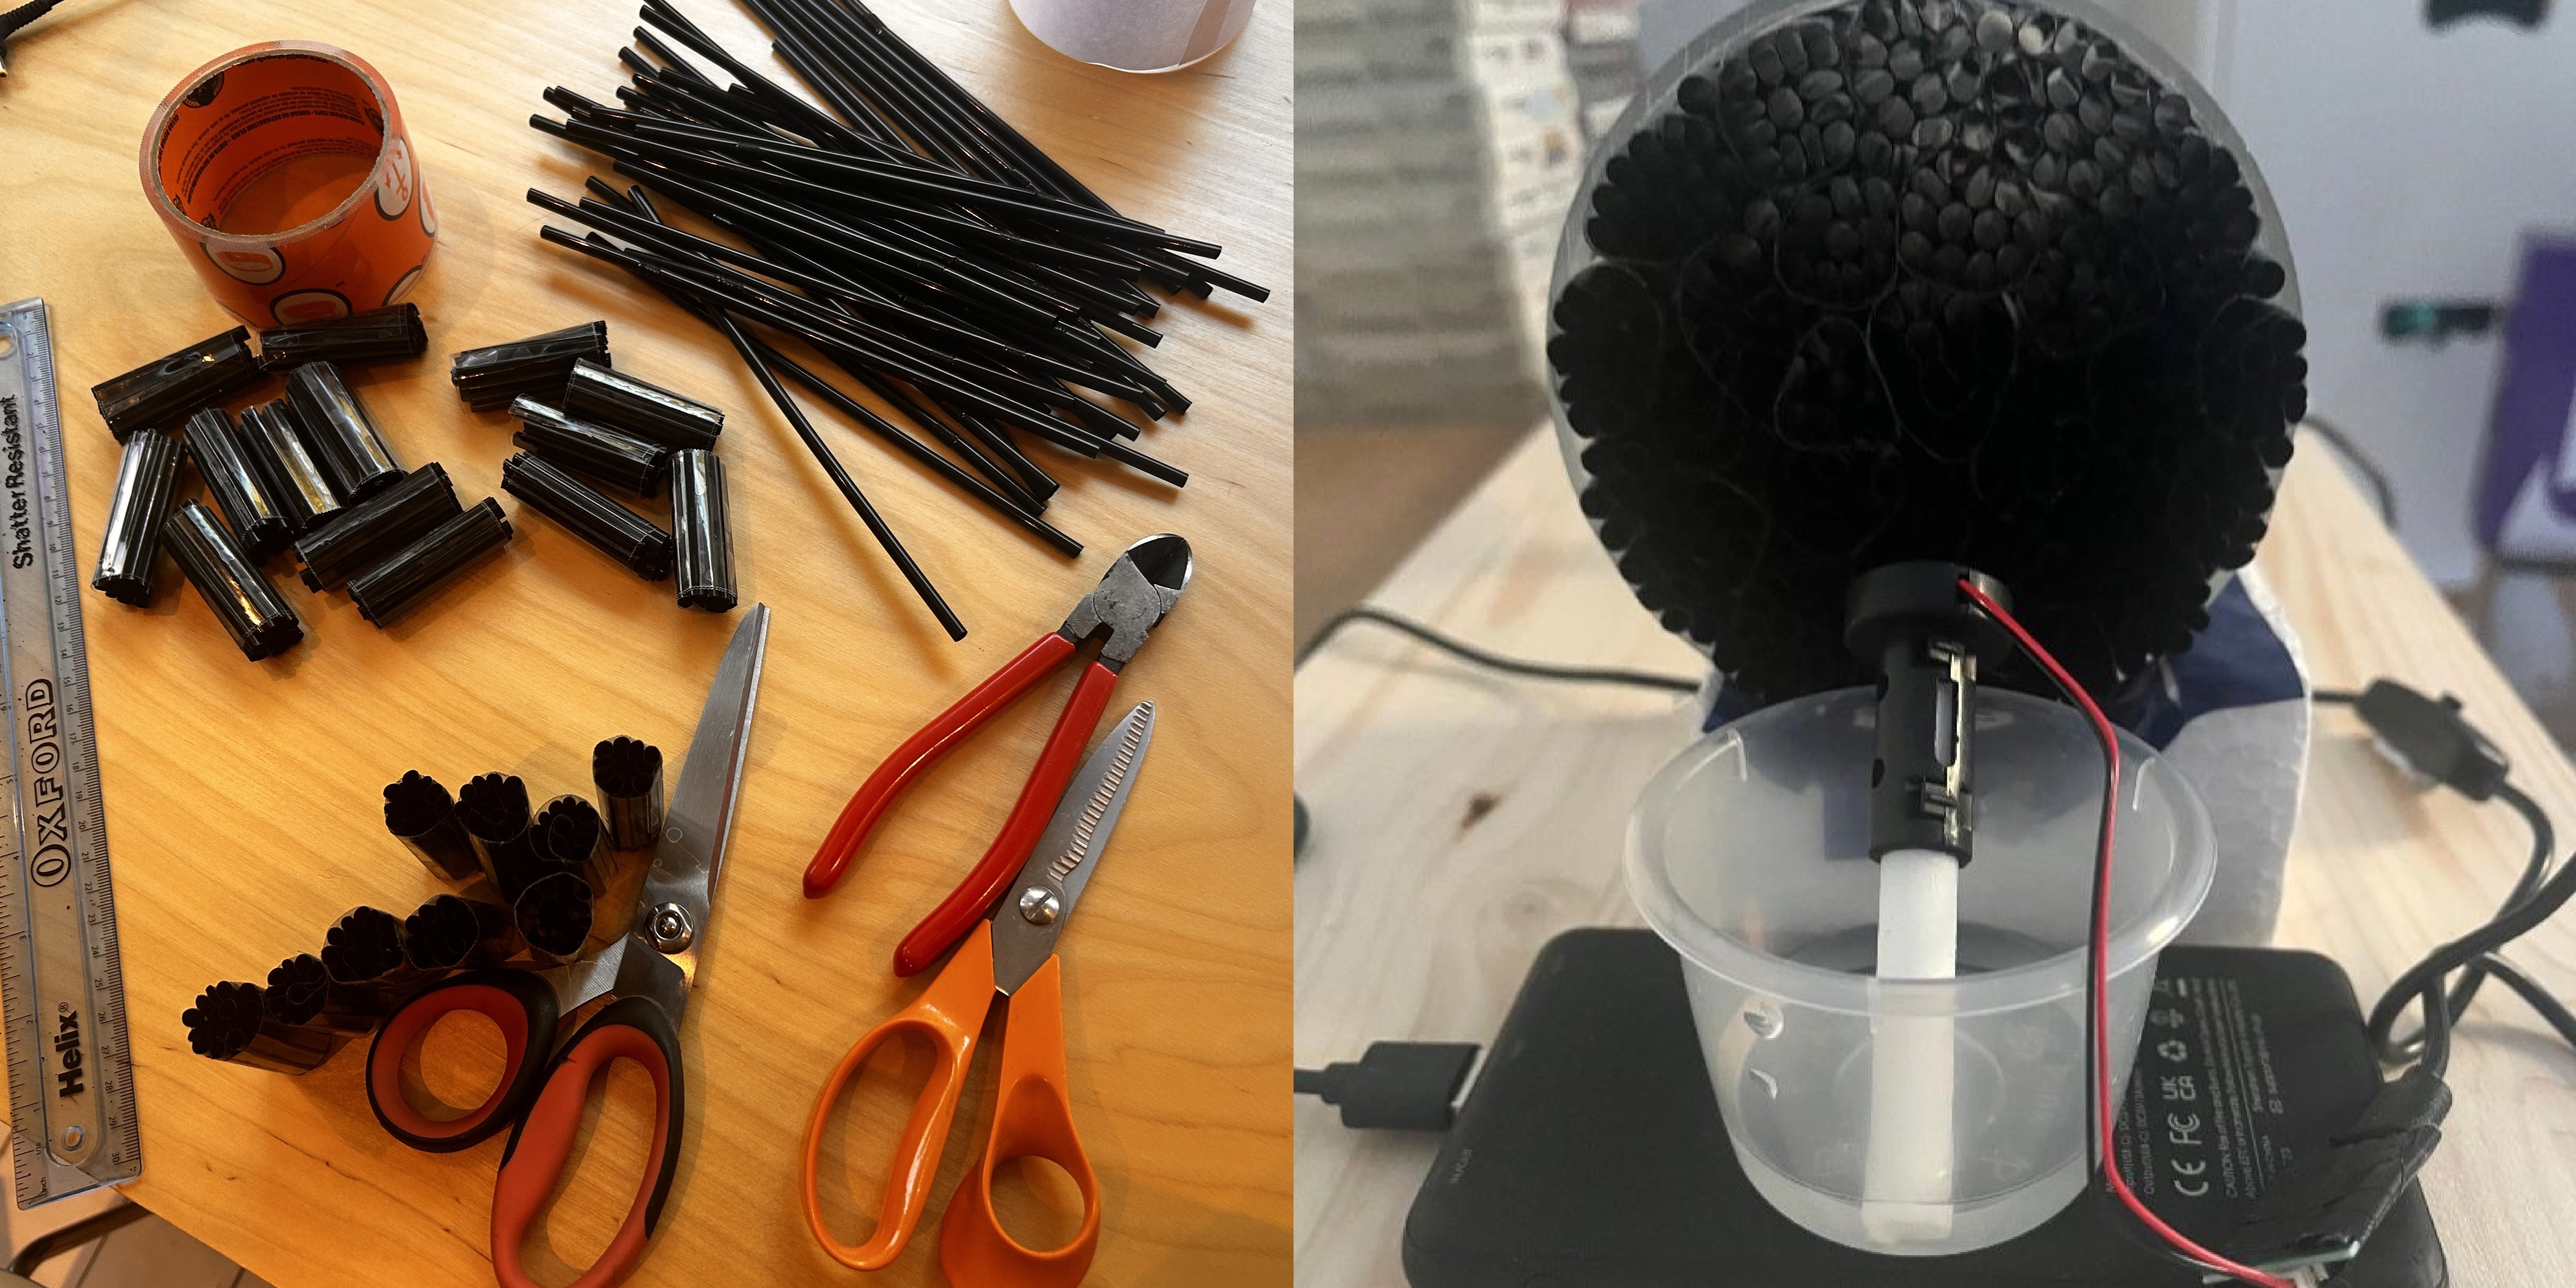
- Cut straws to 5cm each using scissors, taping them together, and rolling it up to form a cylindrical flow straightener, filling in small gaps with other cut straws.
- Cut a styrofoam block to the shape of the tube, as a stand to hold the underside of the tube up (for stability).
- We attempted to fit the tube to the fan using a layer of foam tape, however this did not work as we had planned, as foam tape was too thick. Instead, we wrapped electrical tape around the end of the fan to create a layer for the tube to slide into. We made this airtight by filling gaps with silicon sealant.
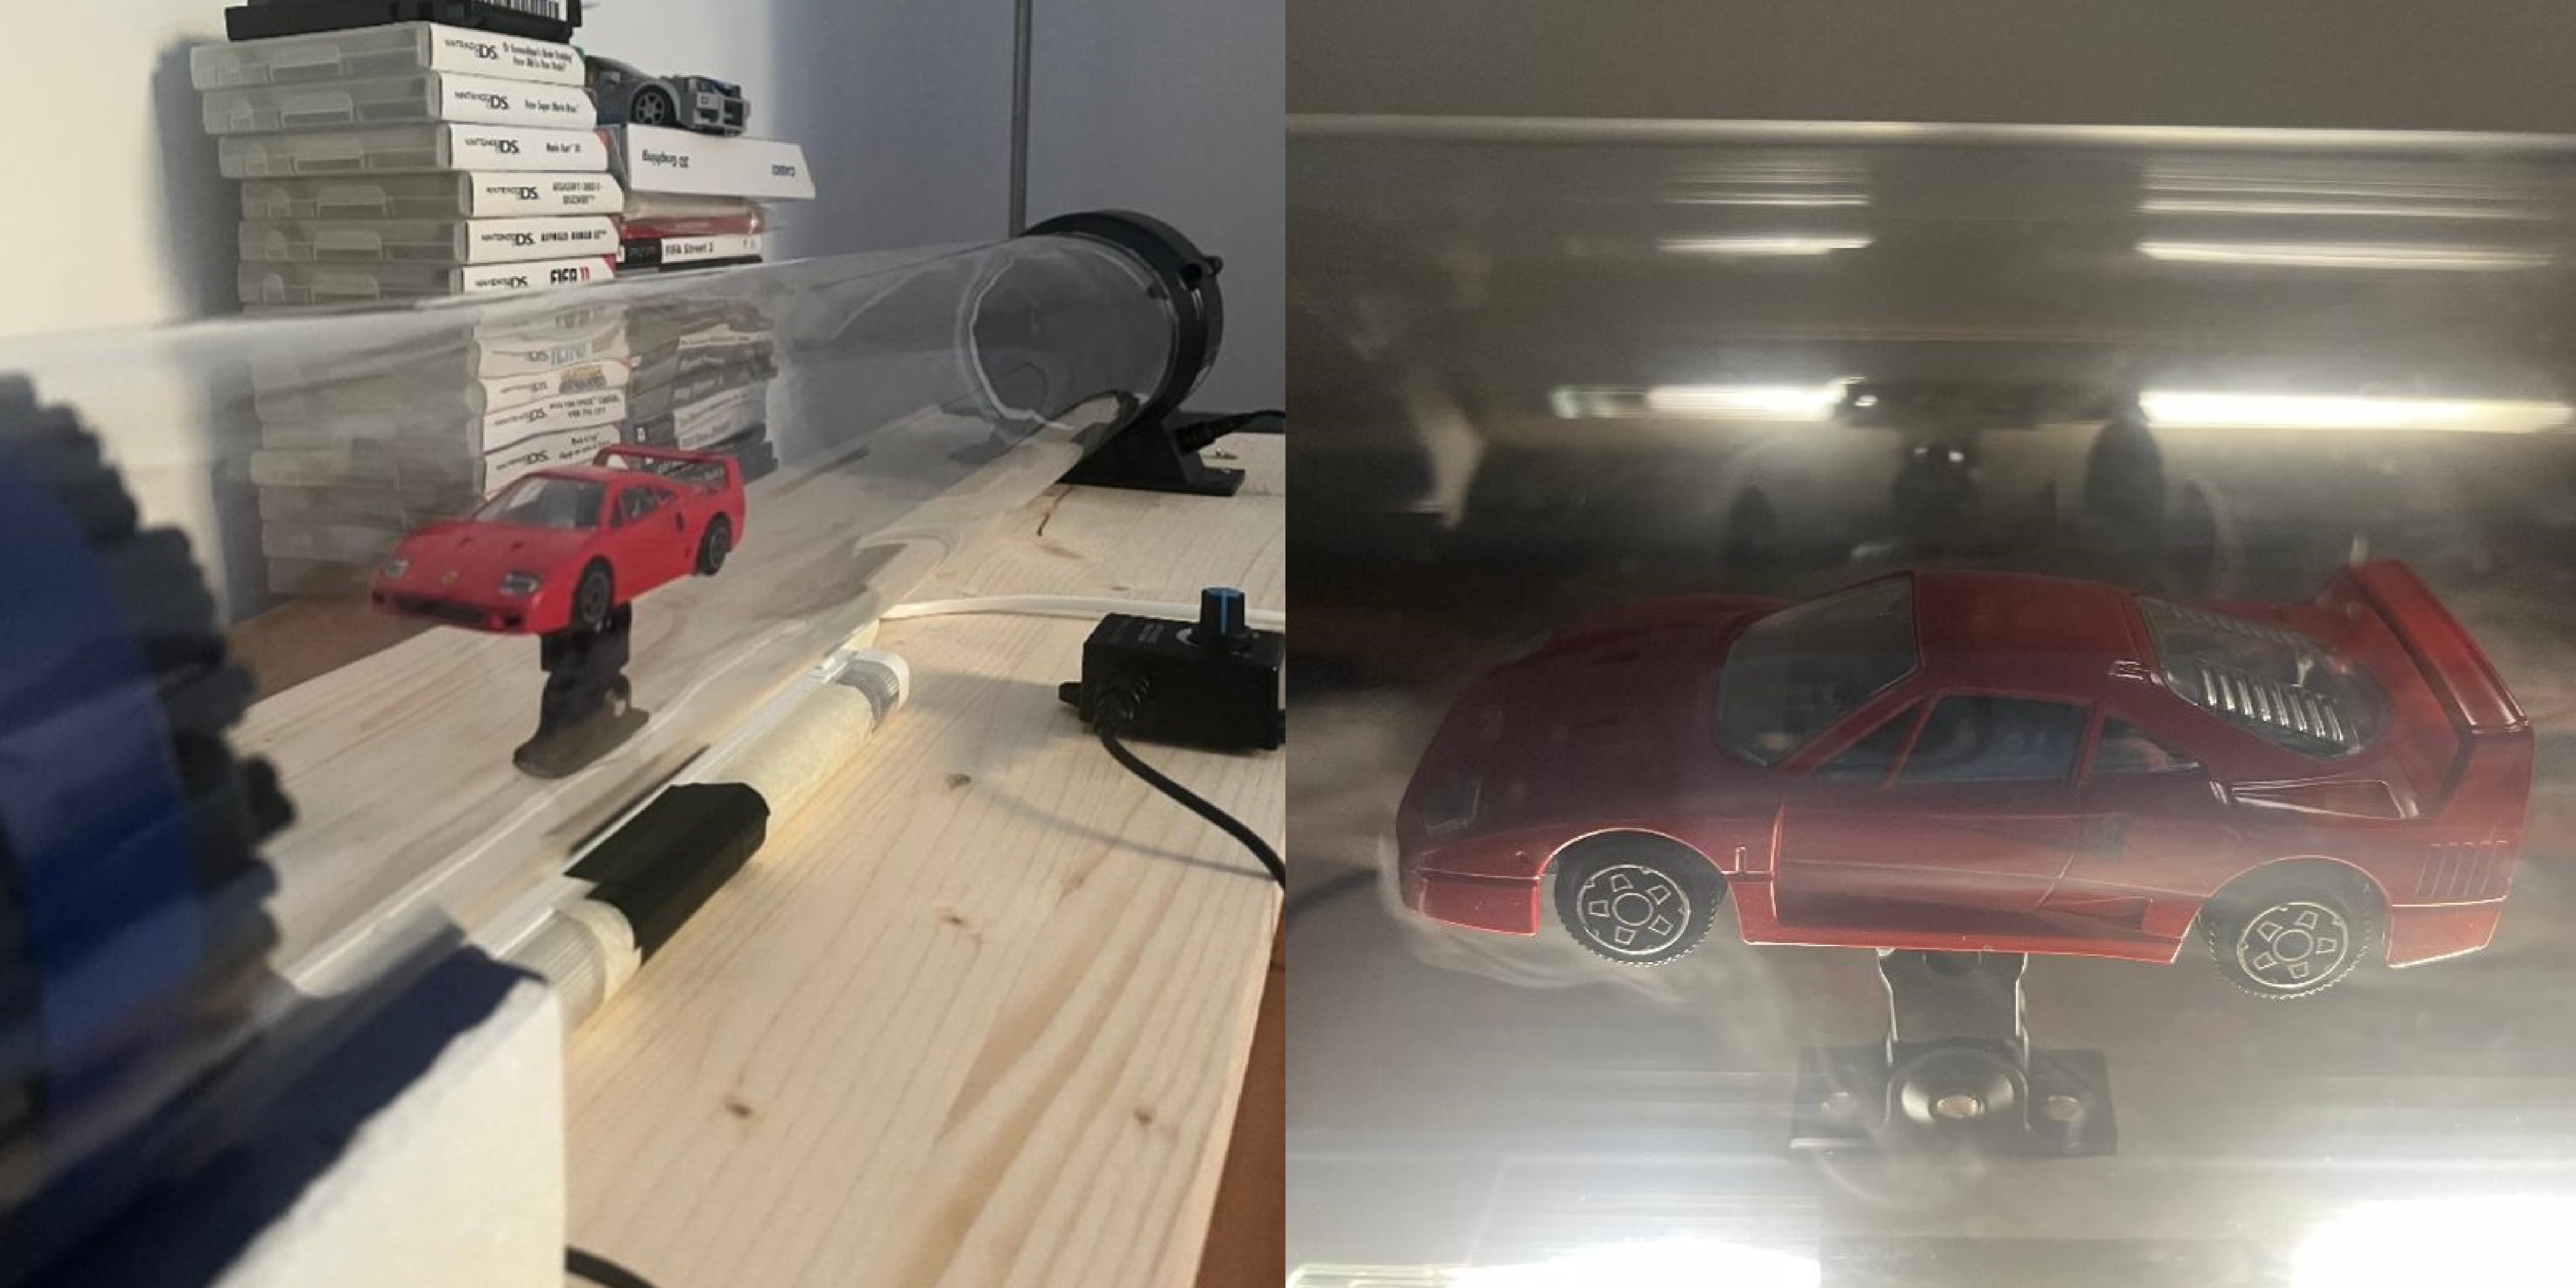
- By burning the incense sticks, we conducted a rough trial run to observe the airflow, however, the smoke was not thick enough, and the smell was too strong. So, we opted for a simple, small water mist maker to provide a more thick and consistent flow, without the unpleasant smell or residue.
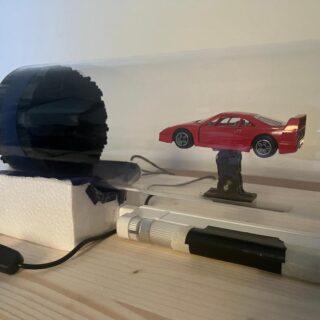
- Having glued the car to the adjustable stand, we glued the stand to the test section.
- We drilled the fan and its speed controller to the wooden board, and placed an LED light under the test section for better flow visibility.
How we felt about it: In our test run, we found that the car used was too small, and so we swapped it out for a larger one, so that the flow could be better viewed. After this change, we were very satisfied with the visibility and smoothness of the flow. Adding a light bar underneath also improved it.
What we got out of it: The main benefit came from learning how to overcome the various issues we encountered, by thinking of practical solutions for them on the spot, with the resources at hand. The practical experience actually crafting something tangible all while using our physics knowledge, especially materials and mechanics.