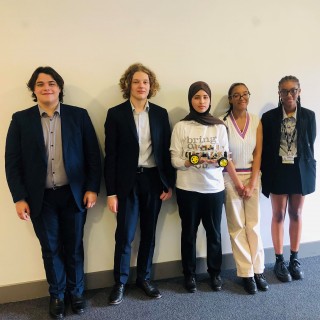
Their story, in their words…..
What did we do?
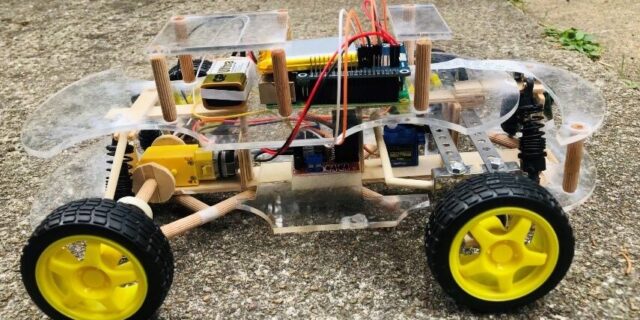
Our main project idea was to create and autonomous car robot, that is a moving functioning car, made from scratch, without the need for human intervention. Having a camera perched on the top of the car allows us to implement a line detection algorithm that allows the car to follow a path/track/line as it moves; therefore, the car knows when to run the motors forwards, backwards, and stop the car accordingly. The steering of the car is controlled by a servo. As for the physical structure, we created the body of the car entirely from scratch, using firstly the DT workshop, for precise cutting (using a laser cutter), and completed the rest of the assembly from home.
What we got out of it/ what we have we learnt?
Undertaking this challenging project, we’ve learnt a lot, from the different adversities we faced. Firstly, the project, being a computer science/engineering-based project, interested us in undertaking a STEM career, regardless of our previous knowledge, and introduced us to new concepts within physics and computer science. For example, using the raspberry pi for the first time, learning the different inputs and outputs, dealing with voltage, and just overall applying, and expanding, on our knowledge from GCSE and A-levels. Taking the project also gave us an opportunity to experience in hardware/ software that we’ll be studying at university – giving us ideas of different areas we could research and discuss, hence giving us an excellent opportunity to create an out-standing university application. As for the adversities, we feel more comfortable, now having overcome so many adversities/ challenges within the construction of the autonomous car, with undertaking our own projects, STEM-related or not, without fear of failure or making mistakes.
Technical report
Hardware
In the construction of the autonomous car, we ran into a couple of problems – the first being the positioning of the steering; the initial model caused the car to steer inconsistently, and require the addition of metal bars to create a linkage joining the wheels, and allowing for smoother rotation for a more locomotive design. Another problem we ran into was that although the motor driver could access power from the raspberry pi, the motor itself had insufficient power; to solve this we added a 9V battery and connected it to the motor, hence suppling the required voltage for the motors to run. Overall, the construction stage, after initial designs modelling on 3D Cad software, was done partly in the workshop, to make use of equipment and machinery, and the rest from home: assembly and making adjustments. Having access to the laser cutter from school, we used an acrylic sheet for the base and as not to have any electronics exposed. Other materials included thin sheets mdf plywood and metals bars that acted as joints for movement. Connecting the electronics together was made simple with the use of male/ female jumper wires, that all met at centre of the car to connect to the raspberry pi model 4b. A camera was fed into one of the flaps onto the pi, and allowed for…
Software
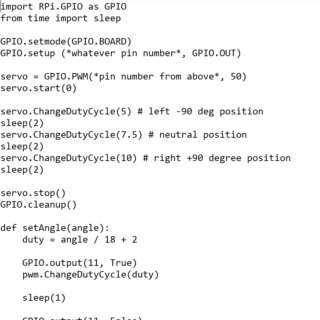
In terms if software, the main goal of the car was to drive autonomously without the need for a remote or specific set of instructions other than following a track/lane. The 8-mega pixel camera allows for the car to detect a path that it follows autonomously. An electric component called a servo is attached to the steering linkage that causes it to steer accordingly – a challenge here was that the servo worked by inputting a duty cycle corresponding to each angle the car is required to steer at, however, regular angles are measured in degrees. For this we mathematically interpolated to find an equation to link the angle to the duty cycle, allowing the servo to rotate at an angle chosen, ie 90 degrees, rather than calculating the duty cycle each time. Linking the hardware to the software was another challenge, and this included making sure the right ports on the raspberry pi model 4B where connected to the correct female jumper wires, and that the pins corresponded with one another, allowing for each of the electronic equipment to be controlled via pin number.